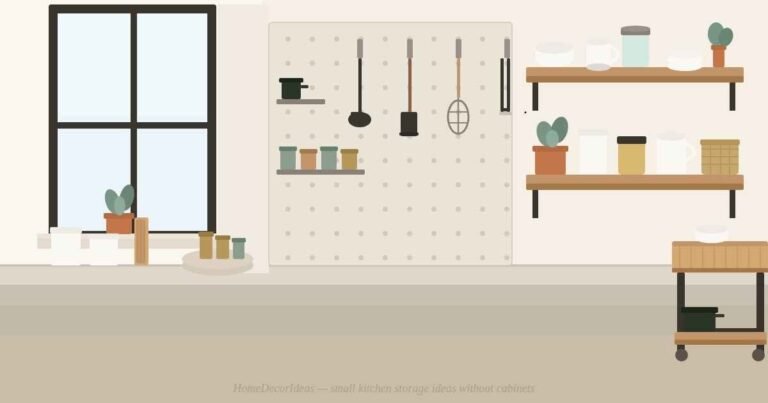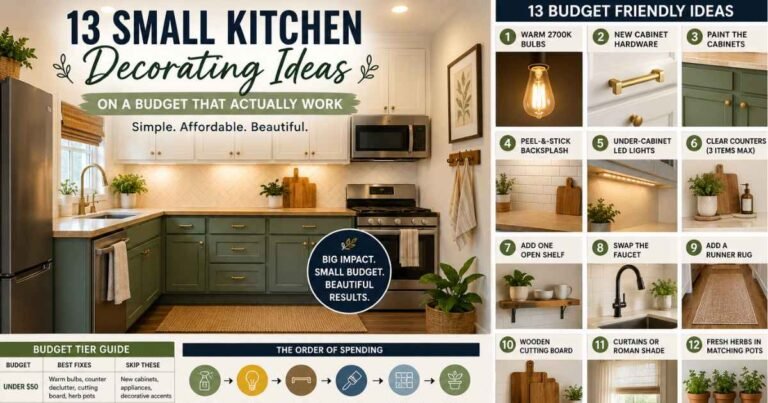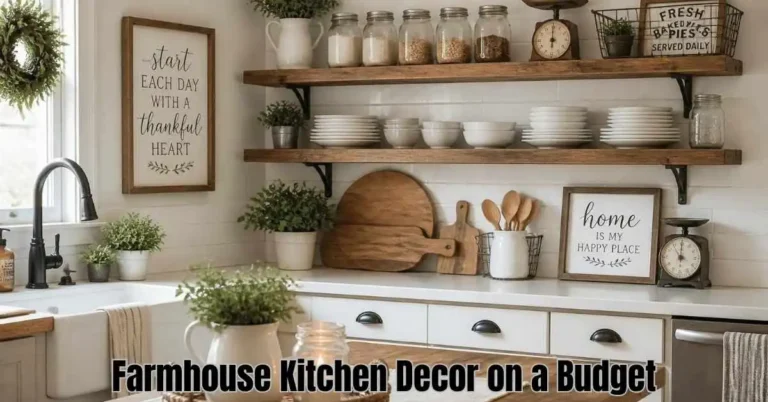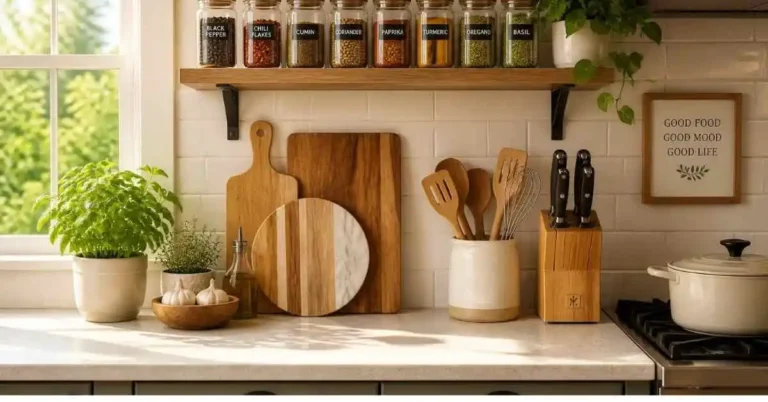
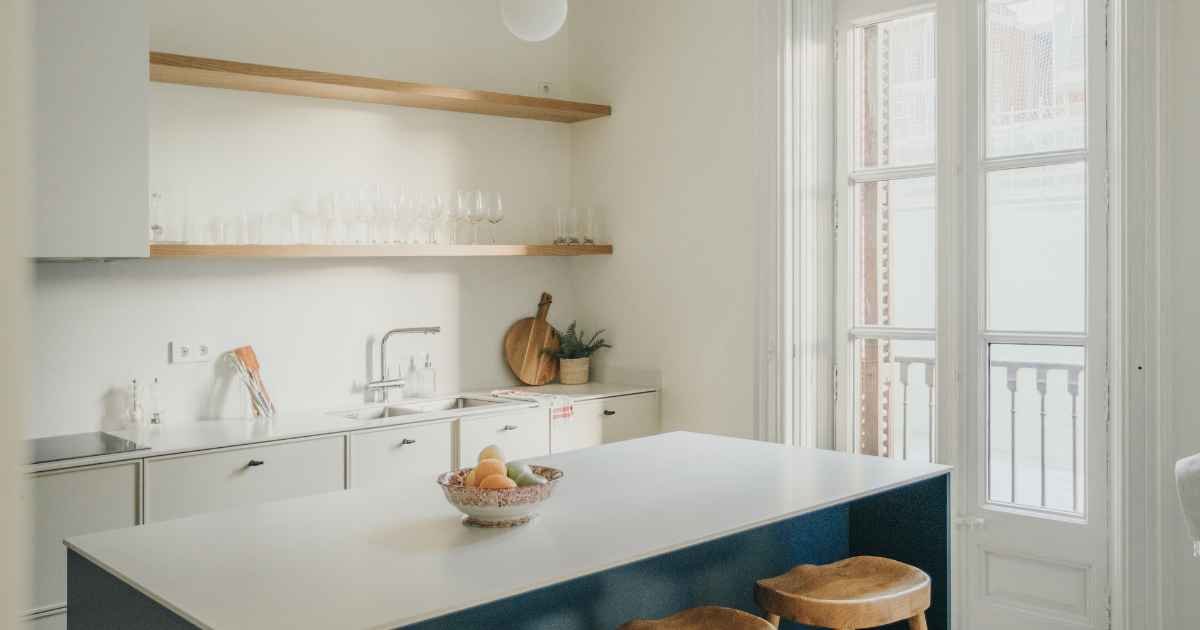
Open shelving kitchen ideas on a budget typically cost $20 to $80 per shelf in materials — board, brackets, and hardware combined. The challenge isn’t the cost. It’s knowing which approach holds up over time, how to space the shelves so they’re actually usable, and what to put on them so they don’t look cluttered by the end of the first week. This guide covers 7 budget-friendly setups ranked by cost, a side-by-side materials comparison, and the styling system that stops affordable shelves from looking like it. The mistake in the final section appears in almost every budget kitchen shelf project.
Key takeaways:
- Most single-shelf setups cost $20–$60 in materials; two to three shelves lands at $40–$100
- Pine board plus matte black L-brackets is the most beginner-friendly starting point and works in any style kitchen
- Standard shelf depth for most kitchen items is 10–12 inches; going deeper adds visual bulk without much practical gain
- Open shelves should sit 16–20 inches above the counter surface for comfortable working clearance
- The Edit-Group-Layer method (covered below) is what separates a budget shelf setup that looks designed from one that looks accidental
What open shelving kitchen ideas on a budget actually cost
Budget open kitchen shelving means the total materials for a single shelf — board, two or three brackets, screws, and anchors — run $20 to $60. A full two- or three-shelf run typically lands between $40 and $100. Labor adds nothing when you DIY; professional installation runs $50–$150 per shelf and can more than double the total cost of a simple setup.
The materials that keep costs down
Pine boards are the go-to budget choice: pre-cut at most hardware stores, easy to stain or paint, and typically $8–$18 per 8-foot length. A 10-inch wide pine board cut to 36 inches is the most common and versatile single-shelf format.
Plywood is slightly cheaper per square foot and more stable under kitchen humidity, but it needs edge banding to look finished — an extra step. MDF costs the least but doesn’t hold screws reliably near the edges and handles moisture poorly, so skip it for wall-mounted kitchen shelves.
For brackets, standard L-brackets in matte black run $3–$8 each. Two brackets per shelf handle spans under 36 inches; add a third for longer or heavier shelves. Concealed floating-bracket systems — no visible hardware — cost $15–$30 per bracket but require more precise installation and lower the maximum safe load.
What “budget” means across different setups
A budget setup is materials under $80 per shelf. Mid-range is $80–$150, usually when you upgrade to solid walnut, a full pipe system, or longer spans. Above $150 in materials per shelf crosses into semi-custom territory that rarely makes sense for a first project.
For renters especially, the sub-$80 threshold matters: it’s roughly the point at which the cost of a temporary installation is justifiable even if the shelves come down at the end of the lease.
7 open shelving kitchen ideas on a budget
These ideas run from lowest to highest material cost within the budget tier. Each includes the specific material, estimated cost per shelf, and the one placement or installation detail that makes it work in practice.
1. Pine board with matte black L-brackets
The most accessible and versatile budget setup. A 36-inch pine board (10 inches wide, 3/4-inch thick), stained medium walnut or painted flat white, mounted on two matte black L-brackets runs $22–$45 per shelf. Bracket spacing should be no more than 24 inches apart; mount into wall studs wherever the layout allows. For renter-friendly installation, toggle bolts rated at 50 lbs per anchor make stud-free drywall mounting viable for lightweight items.
This combination works in farmhouse, industrial, modern, and transitional kitchens — the broadest style compatibility on this list.
2. Thrifted brackets with a custom-cut board
The lowest-cost approach on this list: estate-sale or thrift-store brackets at $1–$4 each, plus a hardware-store pine or plywood board cut to your exact dimensions for $5–$10. Total per shelf: $10–$25. Mismatched thrifted pieces look random unless you paint everything — brackets and board — the same color. Flat white and matte black both work. This approach reads best in eclectic or colorful kitchens where a “collected” quality feels appropriate.
3. Reclaimed or pallet wood on simple brackets
Old pallet boards, salvaged timber, or thrift-store shelving boards bring material costs to $15–$45, and the character of aged wood — patina, grain, knots — is something no new pine board replicates. Sand lightly (you’re preserving the texture, not erasing it), apply a food-safe oil finish, and mount on simple matte steel brackets.
For farmhouse kitchen shelving, reclaimed wood is the strongest material choice at any price point. Even a single reclaimed-wood shelf reads as deliberate in a way that three new pine boards don’t.
4. Floating concealed-bracket shelves
Floating shelves carry no visible hardware, which makes them look far more expensive than they are. The concealed bracket slides into a routed channel in the board; the board covers the hardware entirely after mounting. A 24-inch pine floating shelf with two concealed brackets runs $35–$60.
One real limitation: concealed-bracket shelves hold less weight than face-mounted L-brackets because the load is cantilevered from the wall. Keep individual shelf weight under 15 lbs. That rules out cast iron but comfortably handles mugs, plates, and jars.
5. Single long ledge shelf
A ledge shelf — 48 to 60 inches wide, just 5 to 6 inches deep, with a small lip or rail — runs the full length of one kitchen wall and holds plates, spice jars, and small ceramics. It reads as architectural rather than “added,” which works especially well in galley kitchens where a deep shelf would feel intrusive. Cost for a pine ledge with two brackets: $25–$50. Two keyhole or standard L-brackets handle the load for typical kitchen items.
6. Pre-cut butcher block shelf
Butcher block remnants and smaller-format pieces — often sold cheaply at big-box hardware stores — produce shelves that look kitchen-specific and premium at mid-budget cost. A 12-inch by 36-inch butcher block section with two brackets runs $35–$65. Seal with food-safe mineral oil before loading.
The warm wood tone makes white ceramics and dark countertops read warmer, which is something painted pine doesn’t do to the same degree. For more on budget DIY shelf options, the same mineral oil seal applies to any unfinished hardwood shelf.
7. Black pipe shelf system
Industrial pipe shelves use standard 3/4-inch plumbing pipe and flanges from hardware stores to create a shelf structure that looks custom and costs $40–$75 per shelf (pipe, flanges, and board combined). Assembly is low-tech — threaded pipe plus a wrench — but wall flanges must be drilled into studs for safe use. The industrial aesthetic is specific: it pairs well with subway tile, concrete countertops, and modern or loft kitchens. It’s the most polarizing on this list and the most structurally solid.
I think black pipe shelving is the one setup worth skipping for renters: the flange holes are large and not easily patched. For owned kitchens, it’s excellent.
Budget breakdown — what each setup actually costs
Material costs below cover one shelf (board, brackets, and hardware). Add roughly $10–$20 for sandpaper, stain or paint, and sealant if you’re starting with no supplies.
| Setup type | Cost per shelf | DIY level | Style fit | Rental-safe |
|---|---|---|---|---|
| Pine board + L-bracket | $22–$45 | Beginner | Any style | With toggle bolts |
| Thrifted bracket + board | $10–$25 | Beginner | Eclectic | With toggle bolts |
| Reclaimed wood + bracket | $15–$45 | Beginner | Rustic, farmhouse | With toggle bolts |
| Floating concealed shelf | $35–$60 | Beginner-mid | Minimalist, Scandi | With care |
| Long ledge shelf | $25–$50 | Beginner | Galley, minimal | With toggle bolts |
| Butcher block shelf | $35–$65 | Beginner | Warm, kitchen-specific | With toggle bolts |
| Black pipe shelving | $40–$75 | Intermediate | Industrial, modern | Usually not |
Before you buy anything, check these off:
- Measure wall height from counter to ceiling and plan spacing (14–18 inches between shelves is the working standard)
- Locate wall studs before buying brackets — their placement determines where the brackets go, not the other way around
- Decide shelf depth: 10 inches for most kitchen items; 12 inches for larger ceramics, mixing bowls, or wide cookbooks
- Choose one metal finish for all brackets and nearby hardware before purchasing anything
- List every item that will go on the shelves, count how much linear length that requires, and buy only what you need
Pro tip: Staining a pine board with water-based medium walnut stain and one coat of matte polyurethane takes about two hours and costs $15–$20 extra. It produces a shelf that doesn’t read as “budget” from more than a foot away — and it’s the single most effective cosmetic upgrade across all the wood-based options above.
The Edit-Group-Layer method — and a real kitchen that used it
Budget open kitchen shelves don’t look cheap because of what they’re built from. They look cheap because of what’s sitting on them. The Edit-Group-Layer method gives any open kitchen shelf setup a system for looking intentional regardless of cost.
Step 1 — Edit
Remove everything from the planned shelf area and return only what you use at least once a week. This typically cuts the planned item count by 30–40%. Shelves at 70% capacity look curated. Shelves packed to capacity look like a storage problem wearing a design disguise.
Step 2 — Group
Organize by material first, then function. All white ceramics in one zone. All glassware together. All natural wood pieces together. Within each group, vary the heights — a tall bottle next to a short bowl reads as deliberate; two objects at the same height read as accidental placement.
Step 3 — Layer
Add one or two non-kitchen items per shelf: a small potted herb, a cookbook standing spine-forward against the wall, or a folded linen cloth tucked under a bowl. These give the eye somewhere to rest between functional objects. They should never outnumber the kitchen items.
The case study — two shelves, $52, one Saturday afternoon
A galley rental kitchen: no upper cabinets, a wire rack on the counter that made the space feel permanently cluttered. Two 36-inch pine boards stained medium walnut, six matte black L-brackets, toggle bolts for drywall mounting with landlord permission — total materials $52, installed in one Saturday afternoon.
The shelves replaced the wire rack. But the more significant moment was Step 1: the original plan was to move everything from the rack directly to the shelves. That would have looked exactly as crowded. Editing down to 60% of those items — keeping daily-use pieces and three styled objects — was what made the result look considered. The approach is detailed in the cabinet-free kitchen guide for kitchens tackling the same problem at a larger scale.
Mistakes that make budget open shelves look cheap
Budget shelves almost never fail at the installation stage. They almost always fail at the styling stage. Here are the two problems that appear most often, plus fixes for both.
Mixing metals and finishes without a plan
Brass brackets next to chrome screws next to matte black hardware is three separate design decisions cancelling each other out. Pick one metal finish for every bracket and every piece of visible hardware in the kitchen — faucet, cabinet pulls, light fixture — and buy them all at the same time. Matte black is the most forgiving choice because it doesn’t pick up warm or cool tones the way brass and chrome do. Brushed gold works well alongside warm wood tones but looks jarring against gray or cool white kitchens.
Getting the shelf-spacing math wrong
A shelf 12 inches above the counter barely clears a standard drinking glass. Per NKBA planning guidelines, kitchen countertop workspace needs 18 inches of overhead clearance. In practice, 16 to 20 inches from the countertop to the bottom of the lowest shelf is the right target. Between shelves, 14 to 18 inches is the minimum for useful display while still fitting most kitchen items upright.
| Do | Don’t |
|---|---|
| Load shelves to about 70% capacity | Fill every inch of shelf space |
| Group items by material and color family | Mix wood, ceramic, glass, and plastic at random |
| Mount into studs or use rated toggle bolts | Use basic plastic push-in drywall anchors |
| Match all bracket and hardware finishes | Mix brass, chrome, and matte black on the same wall |
| Space shelves 14–18 inches apart | Install shelves less than 12 inches apart |
| Add one or two styled non-kitchen items per shelf | Display only functional items (reads as purely utilitarian) |
Reader objection — “Won’t open shelves collect grease and dust near the stove?” Yes, if positioned directly above or beside the cooking zone. Place open shelves at least 24 inches horizontally from the nearest burner, or on a wall away from the stove entirely. Items that cycle through daily use — mugs, plates, drinking glasses — self-clean through constant handling. Near cooking zones, stick to ceramics and glass; avoid porous materials like unglazed stoneware, raw wood, or anything fabric within splatter range.
Reader objection — “Are budget materials — pine, plywood — actually strong enough for kitchen use?” Yes, when mounted correctly. A 10-inch pine shelf with two L-brackets screwed into wall studs holds 30–50 lbs without issue. The weight limit is set by the wall anchor, not the wood. Use stud mounts for anything heavier than everyday ceramics. For drywall-only mounting, use toggle bolts rated at 30+ lbs each — not plastic push-in anchors, which pull out under dynamic loads like something being grabbed quickly off a shelf.
FAQs
How much does it cost to add open shelving to a kitchen? A single shelf — board, brackets, and hardware — runs $20–$60 in budget materials. Two or three shelves for one kitchen section typically lands at $40–$100. DIY installation adds no material cost. Professional installation runs $50–$150 per shelf, which roughly doubles the total spend and usually isn’t worth it for straightforward bracket shelves.
What is the cheapest way to do open shelving in a kitchen? Thrifted brackets plus a pine or plywood board cut to size at the hardware store: as low as $10–$25 per shelf total. Paint or stain the brackets and board the same color to unify mismatched pieces. The setup works best in kitchens with an eclectic or casual aesthetic where a slightly imperfect look reads as character.
What wood is best for budget kitchen open shelves? Pine is the strongest budget choice: widely available pre-cut, takes stain and paint well, and holds screws reliably. Plywood works for wider spans and is more dimensionally stable. Avoid MDF for wall-mounted kitchen shelves — it handles humidity poorly and strips easily at the screw hole under any load.
What should you put on open kitchen shelves? Daily-use items that move through your hands regularly — plates, mugs, glasses, spice jars — keep shelves looking fresh because they’re constantly being handled. Avoid storing infrequently used items near cooking zones; they collect grease faster than you’ll want to clean them. Apply the Edit-Group-Layer method before placing anything: edit to 70% capacity, group by material, then layer in one or two styled pieces per shelf.
How do you style open kitchen shelves on a budget? Consistent vessel shapes and one or two colors do more than expensive items. A set of matching white ceramic mugs costs less than a mix of designer pieces and looks more considered. Stick to one neutral (white, cream, or natural wood) as the dominant material, add glass for lightness, and finish with a single accent color — terracotta, sage, or amber — for depth.
Budget open shelving works when the installation is right and the editing is ruthless. The materials cost is almost always lower than people expect. The discipline about what goes on the shelves is almost always harder.
Start with one shelf. Live with it for a week before adding a second. Apply the Edit-Group-Layer method from day one — that’s what turns a $45 pine board into something that looks like a design decision.
For kitchens without any upper storage at all, HomeDecorIdeas covers the broader kitchen storage picture including solutions that work alongside open shelving.
Explore fresh content that brings value—start reading from our homepage picks and stay ahead easily.