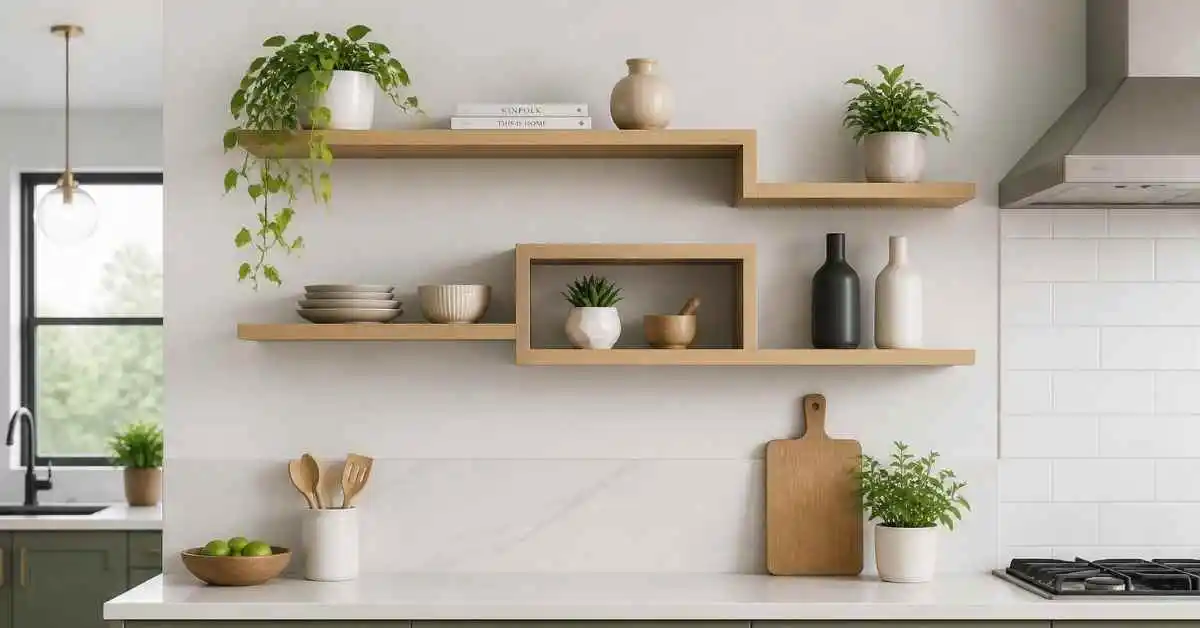
A DIY floating shelves tutorial only works if it starts with the wall, not the shelf, since the anchor you choose depends entirely on whether you’re drilling into a stud, drywall alone, or plaster. Most sagging or crooked floating shelves trace back to the same root cause: someone picked an anchor rated for drywall and hung a shelf loaded with hardcover books or a stack of plates. Below is the exact install process, a weight chart matched to wall type, and the mistake that causes almost every floating shelf failure I’ve seen.
Key takeaways:
- Locate a stud whenever possible; it holds more weight than any drywall anchor alone.
- Match your anchor type to your wall material, since drywall, plaster, and brick each need a different fastener.
- A basic floating shelf bracket rated for drywall alone typically holds a modest load, not a full row of hardcover books.
- Level the bracket before drilling, since even a small tilt becomes obvious once the shelf is loaded.
- Let any wood filler or touch-up paint on the bracket holes cure fully before mounting the shelf.
- Test the shelf with half your intended load first, then wait a day before adding the rest.
What makes a shelf “floating”
A floating shelf hides its mounting hardware inside the wall or inside the shelf itself, so the finished result appears to hang with no visible support. The three common systems differ mainly in how much weight they can hold and how much wall damage they leave behind if removed later.
Hidden bracket shelves
A metal bracket mounts flush to the wall, and the shelf slides over it with a hollow back panel that conceals the hardware completely. This is the most common style for a first project, since the bracket does most of the weight-bearing work.
Floating rod systems
Metal rods extend from the wall into pre-drilled holes in the shelf itself, giving a cleaner look with thinner shelves. These need precise hole alignment, since even a slight angle in the drilled holes makes the shelf sit crooked once it’s slid into place.
No-bracket ledge shelves
A solid wood ledge screws directly through its back edge into wall studs, with the screw heads hidden by the shelf’s own thickness. This style holds the most weight of the three, but only works well when studs land at a usable spacing for the shelf length.
How to install a floating shelf step by step
Installing a floating shelf reliably comes down to finding solid wall backing, drilling level pilot holes, and letting the bracket bear the load rather than the drywall paper alone. The steps below work for most hidden-bracket shelf kits.
- Find the studs. Run a stud finder across the wall where you want the shelf, marking each stud location with a light pencil line rather than a permanent mark.
- Mark your level line. Hold the bracket against the wall at your chosen height and use a level to draw a straight guideline before drilling anything.
- Drill pilot holes. Drill slightly smaller than your screw diameter into the stud locations, or use the anchor manufacturer’s recommended bit size if you’re anchoring into drywall alone.
- Mount the bracket. Screw the bracket into the studs where possible, adding a drywall anchor at any point that misses a stud, then recheck level before tightening fully.
- Slide the shelf into place. Fit the shelf’s hollow back over the bracket, checking that it sits flush against the wall with no visible gap.
- Test before loading fully. Add roughly half your intended weight and leave it for a day before adding the rest, since a bracket under real stress often shows movement within the first 24 hours if something’s off.
Matching anchors to your wall type
The weight a floating shelf can hold depends more on the wall material than on the shelf itself, since even a heavy-duty bracket is only as strong as what it’s anchored into. Studs hold the most weight; hollow drywall alone holds the least.
| Wall type | Best anchor choice | Approximate weight capacity per bracket |
| Wood stud | Wood screws directly into stud | High, often over 50 pounds with a solid bracket |
| Drywall only, no stud | Heavy-duty toggle bolt or molly bolt | Moderate, generally 15 to 25 pounds |
| Plaster and lath | Toggle bolt through the lath | Moderate, similar to drywall anchors |
| Brick or concrete | Masonry anchor with a hammer drill | High, comparable to a stud mount |
Pro tip: Buy anchors rated above the weight you actually plan to load. A shelf holding a stack of hardcover books and a small plant weighs more than most people estimate once everything’s added together.
The wall-first method
Most floating shelf guides start with the bracket and treat the wall as an afterthought. The wall-first method reverses that order: identify the wall material, pick the anchor rated for that material, and only then choose the bracket style that fits both.
I mounted a floating shelf over a section of wall with no stud within reach, likely due to nearby plumbing, using a set of heavy-duty toggle bolts rated for a solid moderate load. Over about eight months with a row of hardcover cookbooks on top, the shelf hasn’t shifted or sagged at all. A standard drywall anchor rated for a lighter load would have pulled loose well before that.
This method matters less when you’re mounting into solid studs across the full shelf length, since the wood itself does most of the weight-bearing work regardless of bracket style. It matters most in older homes with plaster walls or in rooms where stud spacing doesn’t line up with where you want the shelf.
Common floating shelf installation mistakes
Skipping the stud finder entirely
Eyeballing stud location or tapping the wall for a hollow sound often misses the mark by an inch or two. A basic stud finder costs little and prevents drilling into the wrong spot, which can leave a visible extra hole once the bracket goes in.
Loading the shelf immediately at full capacity
Adding every book or decorative object right after installation doesn’t give the anchor time to show early signs of strain. A day of testing at partial load catches a loose anchor before it fails under the full weight.
Are floating shelves strong enough to hold books?
Yes, as long as the bracket and anchor are matched to the load. A stud-mounted bracket handles a full shelf of hardcover books without issue, while a lightweight drywall-only anchor may sag under the same weight.
Do I need a stud, or can I use anchors alone?
A stud isn’t strictly required if you use a heavy-duty toggle bolt or molly bolt rated for your wall type, though a stud mount generally holds more weight with less risk of pulling loose over time.
| Habit | Skip this | Do this instead |
| Wall check | Guess at stud location | Use a stud finder and mark it before drilling |
| Anchor choice | Use a generic drywall anchor for any wall | Match the anchor to drywall, plaster, or masonry |
| Loading | Add full weight immediately after install | Test with half the load for a day first |
| Leveling | Eyeball the bracket by sight | Use a level before drilling any holes |
FAQs
How much weight can a floating shelf hold?
It depends on the wall and anchor, but a stud-mounted bracket typically holds well over the weight of a full shelf of books, while a drywall-only anchor holds a more modest load, usually under 25 pounds.
Do floating shelves need studs?
Not always, but a stud mount is the strongest option. A heavy-duty toggle bolt or molly bolt rated for your wall type works well when a stud isn’t available at the spot you want the shelf.
What tools do I need for a DIY floating shelf tutorial?
A stud finder, a level, a drill with the correct bit size, and the anchor or bracket kit matched to your wall type cover most standard installs.
Can floating shelves be installed on plaster walls?
Yes, using a toggle bolt through the plaster and lath layer. Plaster walls need a bit more care when drilling, since the material can crack more easily than drywall if the pilot hole is too aggressive.
Why is my floating shelf sagging on one side?
This usually means one anchor point missed a stud or the bracket wasn’t level before mounting. Check that both sides are anchored equally and that the bracket was checked with a level before the final tightening.
A DIY floating shelves tutorial only holds up long-term when the wall gets checked before the bracket does. Find your stud or the right anchor first, level the bracket, and test the load before committing to a full shelf of books. For more step-by-step home projects like this one, HomeDecorIdeas.it.com has a growing library worth exploring.