Organizing kitchen countertops means clearing enough open surface for real cooking, then giving every item that’s left, from the coffee maker to the fruit bowl, a zone it belongs in instead of a spot it landed on. Most kitchens don’t actually have a storage problem. They have a landing-zone problem: mail, chargers, half-empty vitamin bottles, and appliances used twice a year pile up because nothing has an assigned home. The fix isn’t a bigger pantry. It’s a system that decides what earns counter space and what doesn’t. Stick around for the mistakes section; it covers the one habit I see in almost every kitchen I’ve reorganized.
Key takeaways:
- Clear counters start with a zone system, not more storage bins.
- The 3-zone countertop method sorts items by prep, landing, and appliance use.
- Aim to keep roughly 40 percent of your counter surface empty at all times.
- Appliances used less than once a week belong in a cabinet, not on display.
- A single focused weekend beats a little decluttering every day.
- Mail and paper need one dedicated tray, not three “for later” piles.
What clutters a kitchen countertop in the first place
Countertop clutter usually comes from three sources: small appliances set down and never picked back up, paper with nowhere else to go, and decorative objects that quietly multiply. Each source needs its own fix, which is why generic advice to “just get rid of stuff” rarely sticks for long.
Appliance overload
A coffee station with a grinder, kettle, and drip machine can eat close to 20 inches of counter on its own. Add a stand mixer, an air fryer, and a toaster, and a 10-foot counter runs out of open surface before dinner prep even starts. The fix isn’t fewer appliances. It’s rotating anything used less than a few times a week into a cabinet or a pantry shelf, and keeping only the daily-use items out.
Paper and mail pileup
Mail, school forms, takeout menus, and loose receipts collect on whatever flat surface is closest to the door. Once a pile starts, it grows on its own; people add to an existing stack far more readily than they start a new one. A single shallow tray, sorted weekly, stops this before it begins.
Decorative overload
Fruit bowls, dish towels, plants, and seasonal decor add warmth, but they also compete with appliances and paper for the same limited inches. A rule of thumb: no more than two decorative objects per counter run, and none directly beside the stove or sink where they’ll get in the way of actual cooking.
The 3-zone countertop method
The 3-zone method sorts everything on your counter into a prep zone, a landing zone, and an appliance zone, then gives each one a hard size limit. Instead of asking whether an item is useful, ask which zone it belongs in and whether it still fits inside that zone’s limit.
Prep zone
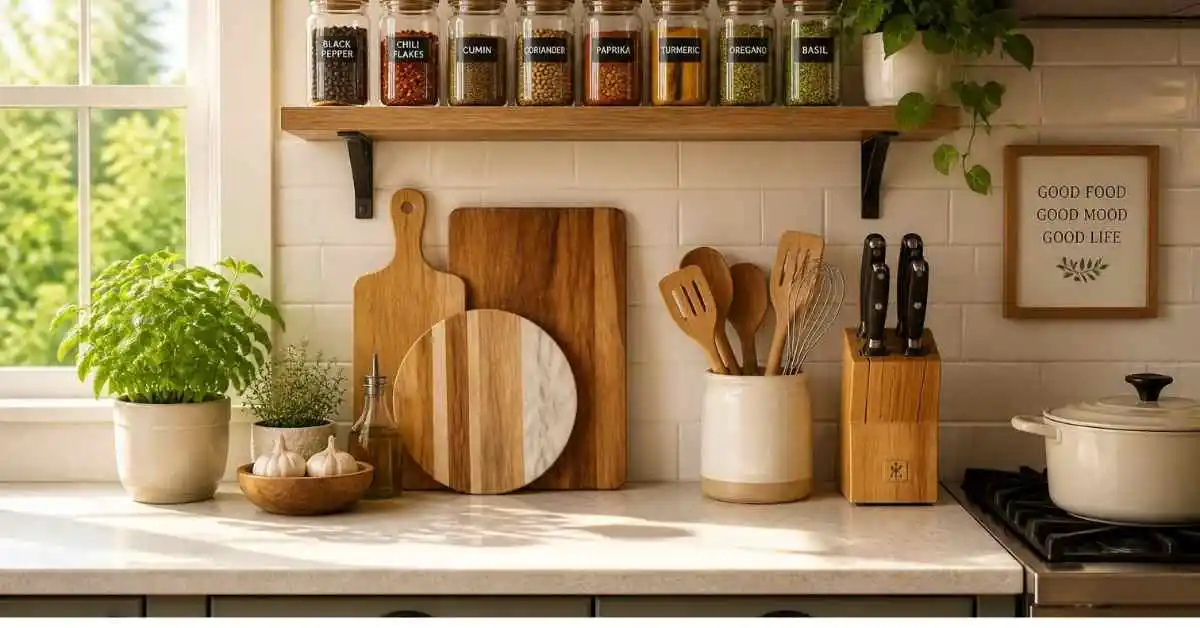
This is the stretch of counter next to your stove or main workspace, ideally at least 24 to 30 inches of clear space for a cutting board and mixing bowls. Keep only what you touch during active cooking here: a knife block, maybe an oil bottle. Everything else moves out during meal prep and comes back after.
Landing zone
Every kitchen needs one spot for things in transit: keys, mail, a phone charger, a reusable water bottle waiting to go back in a bag. A shallow tray or small basket, roughly the size of a dinner plate, keeps this zone from spreading across the whole counter. If it overflows, sort it that evening instead of letting the overflow claim new territory.
Appliance zone
This is the section for daily-use small appliances only. A coffee maker and a toaster earn a permanent spot; a waffle iron used twice a year does not. Measure the footprint of what stays and treat that measurement as fixed. If a new appliance needs to move in, something else moves out.
The 40 percent rule
Leave close to 40 percent of your total counter length genuinely empty, not just clear of clutter but usable for setting down a hot pan or rolling out dough. This buffer is what makes a kitchen feel calm even when it’s fully stocked, and it’s the number that separates “tidy” from “actually functional.”
Quick zone check:
- Prep zone: cutting board width plus 6 inches on either side
- Landing zone: one tray, sorted at least twice a week
- Appliance zone: daily-use items only, footprint fixed
- Open buffer: roughly 40 percent of total counter length
Matching storage to your kitchen size
Smaller kitchens need a higher empty-counter percentage than large ones, since there’s less total surface to absorb overflow. The right storage move also depends on layout: A galley kitchen benefits from vertical storage, while an island kitchen has room to spread the appliance zone out.
| Kitchen size (linear feet of counter) | Recommended empty counter | Best storage move |
| Under 8 feet | 50 percent | Wall-mounted rack for daily tools, appliances in a cabinet |
| 8 to 14 feet | 40 percent | One appliance garage or corner cabinet |
| Over 14 feet (island included) | 35 percent | Dedicated landing zone tray plus a small appliance shelf |
Pro tip: Measure your actual counter in linear feet before buying any organizer. A caddy that looks compact in a photo can still claim 8 inches of prime prep space once it’s sitting on your counter.
The one-weekend reset that made it stick
I reset a 14-foot galley kitchen counter over a single Saturday afternoon, clearing everything off and re-sorting it using the 3-zone method. Within about three hours, counter space that had sat unusable for prep work most of the year was clear enough for two people to cook side by side, and it held up for the eight months since without a relapse.
The part that made it last wasn’t the sorting. It was setting the appliance zone’s footprint in tape on the counter before anything went back. Anything that didn’t fit inside the tape line had to earn its spot by displacing something else, which is a much harder decision to avoid than a vague sense that the counter “feels crowded.”
This approach loosens up fast in kitchens under 6 linear feet of counter, where there’s barely room for one zone, let alone three. In a galley kitchen that tight, skip the separate landing zone and combine it with the appliance zone in a single small basket instead.
Common countertop mistakes and how to fix them
Buying organizers before decluttering
Bins and trays get bought first, then filled with things that shouldn’t be on the counter at all. Clear everything off, decide what actually stays using the 3-zone method, and only then buy storage sized to what’s left.
Treating every appliance as a keeper
An appliance used once or twice a year, like a fondue set or an ice cream maker, doesn’t need daily counter real estate. Store it in a high cabinet or the garage, and bring it out only when the occasion calls for it.
Letting the landing zone spread
Without a size limit, mail and miscellaneous items creep from one tray to two, then to the whole end of the counter. Sort the landing zone at least twice a week and treat its container size as fixed.
Won’t clearing the counters make cooking less convenient?
Usually the opposite happens. A cluttered counter forces you to work around obstacles every time you cook, while a defined prep zone with real open space actually speeds up meal prep, even though fewer items are sitting out.
Won’t the counter just get cluttered again in a week?
It can, if nothing has an assigned zone. That’s why the method matters more than a one-time cleanup: once every item has a home and a size limit, new clutter has nowhere obvious to land, and it gets noticed and sorted faster.
| Habit | Skip this | Do this instead |
| New appliance | Add it to an already full counter | Measure the appliance zone footprint first; swap something out |
| Let it pile anywhere near the door | Sort a single tray twice a week | |
| Storage bins | Buy first, sort later | Declutter with the 3-zone method, then buy to fit |
| Counter buffer | Fill every inch | Keep roughly 40 percent open |
FAQs
How much counter space should be left empty in a small kitchen?
Aim for around half the total counter length in kitchens under 8 linear feet. Small kitchens have less surface to absorb overflow, so the buffer needs to be larger relative to a bigger layout.
What should never be stored on a kitchen countertop?
Rarely used appliances, large stacks of paper, and cleaning supplies are the main offenders. They take up prime prep and landing space that daily-use items need instead.
How often should countertops be reorganized?
A full reset once or twice a year is usually enough if the zones and size limits are holding. A quick sort of the landing zone tray twice a week keeps things from drifting between resets.
Do countertop appliances make a kitchen look cluttered even when they’re clean?
Yes, past a certain density. Three or more small appliances lined up in a row read as clutter regardless of how tidy each one is, simply because of how much visual weight they add to the counter.
Is it better to store items in cabinets or on open shelves?
Cabinets work best for anything used less than daily, since closed doors hide the visual clutter. Open shelves suit daily-use items you want within reach, as long as the shelf has its own size limit like the counter does.
Clearing a kitchen counter isn’t about owning less. It’s about giving what you own a zone, a limit, and a reason to be out. Start with one weekend, apply the 3-zone method, and measure before you buy anything new. If you want more room-by-room organizing breakdowns like this one, Home Decor Ideas has a growing library worth digging through.